How to Create a Simple Easter Banner

Easter is April 9, 2023. This time of year the weather is getting a little bit warmer and I’m excited for all the celebrations that come with it.
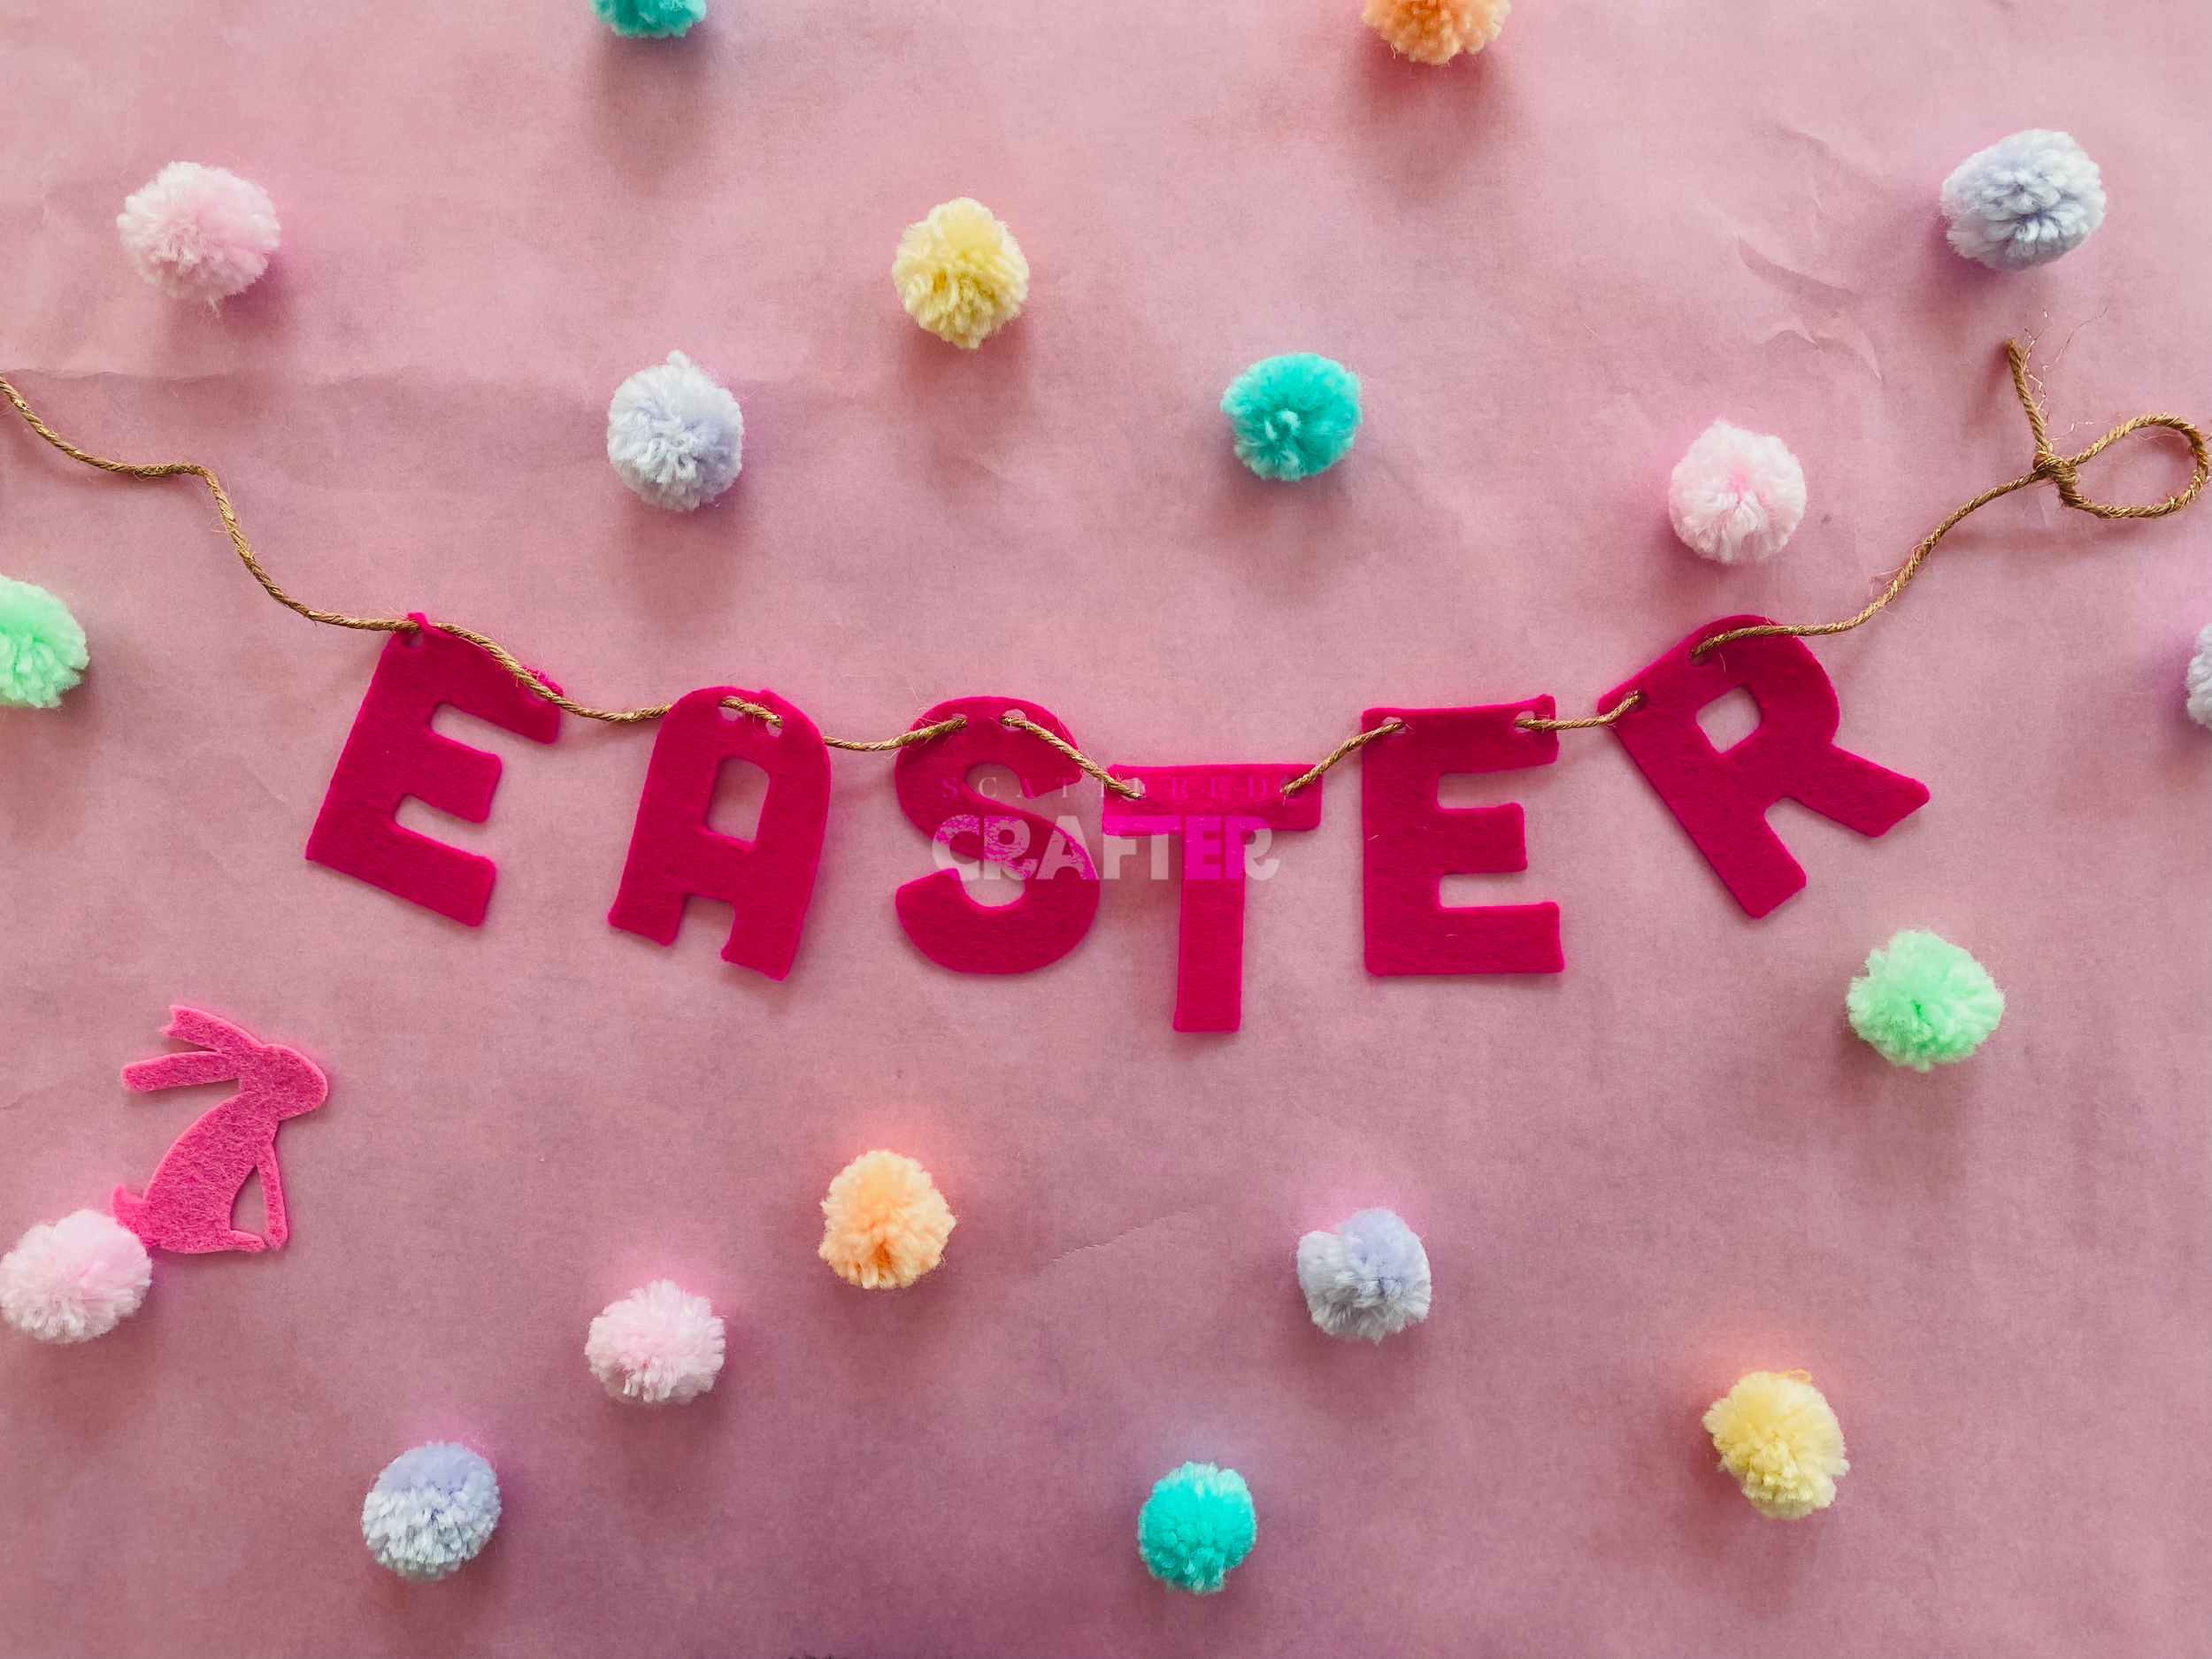
For the second craft in my Easter series heres a banner you can create with your little one to get into the holiday spirit.
Heres what you’ll need
Felt
‘Easter’ graphic
Cricut with rotary blade attachment
Fabric Grip mat
Twine
1. Start by creating your graphic
For my banner I simply used the word Easter and typed it out in ‘Eagle Font’ in the Cricut workspace. I also searched the Cricut workspace for a carrot and easter bunny cutout to add to each end of the banner. Theres some circle cut outs at the top of each letter so that I can easily string the letters together. To create the cut outs simply place the circle graphic over your letters and use the ‘subtract’ tool. If you would like to access the graphic I made you can drop me an email and I can send it over :)

2. Cut graphic
Start by placing your felt on a fabric grip mat. Make sure its secure by pressing the felt firmly into the mat. Load your mat into your cricut and cut using the rotary blade attachment. If you choose to use Cricut felt you can also use the fine point blade to cut your graphic.

3. Lay your design out
Once your Cricut is finished cutting the graphic, weed your letters off of the mat. Have your little one help you lay out your design for the banner. They can arrange the letters and pom-poms to their liking.

4. String It
Next have your little one help you string the letters evenly along the twine.

5. Display It
Once your finished stringing the letters, tie a knot at each end of the string to make it easy to hang.

and thats it! hang your banner up during your Easter celebration!